Tutorial: Sorrento Invisible Zipper Hack

Blogger: Jenn Meitin Williams
Sorrento with an Invisible Zipper
Hi!! I’m super excited to share this hack, because I know it has been asked for several times. As I’m sure you are aware, cute nursing clothes are hard to come by, so anytime I can modify a pattern to make it work for nursing, I jump on that opportunity. Because of the way the Sorrento Dress bodice has a nice “V” shape, I thought it would be perfect for a front invisible zipper. So let’s jump in!!
First, cut out four front bodice pieces (a left and right front main, and a left and right front lining). None of the front pieces will be cut on the fold. Modify the front bodice and front lining piece to add a 5/8” seam allowance.


Follow the original tutorial for the shoulder strap construction, and sew the left front main and lining pieces together at the neckline, shoulder, and arm opening. Repeat for the right front bodice.

Turn right side out and press. (Please note, the shoulder straps are not shown in the following photos but should be sewn in by this point.)

From this point forward, I will be following the invisible zipper video tutorial that is provided on the Styla website. It may help to have the video pulled up and follow along so that you have better visuals, as pictures are sometimes hard to visualize.
Pull the lining away from the main and serge or zigzag the long raw edge of the bodice. Serge/zigzag from the bottom of the bodice main and up through the neck seam and to the bottom of the lining.

Line up the zipper with the raw edge of the bodice main, right sides together. Make sure the top zipper stop (see black arrow below) is just below the neckline seam.

Locate the zipper foot and put it on your sewing machine. There is also an invisible zipper foot that that makes installing an invisible zipper a little easier. If you have never installed an invisible zipper you may want to practice first. The zipper teeth have to be pulled away so that you can stitch super close to the teeth. This is what makes the zipper invisible. If you don’t pull the teeth away as you sew, your zipper will be visible.

Stitch the zipper to the bodice. Your zipper will most likely be longer than you need so you can trim the bottom of it at this point. I just made mine the same length as the lining. Start stitching at the neck seam, and finish as close to the bottom of the zipper as you can. You won’t be able to go all the way to the bottom because of the zipper pull.

This is what you will have so far.


Place the other side of the bodice right sides together with the other side of the zipper and stitch it the same way as the first side.
Turn the bodice right side out and zip up the zipper. Make sure the neckline lines up properly and is even. If it is not, seam rip one side and try to get it aligned better so that the neckline looks clean.
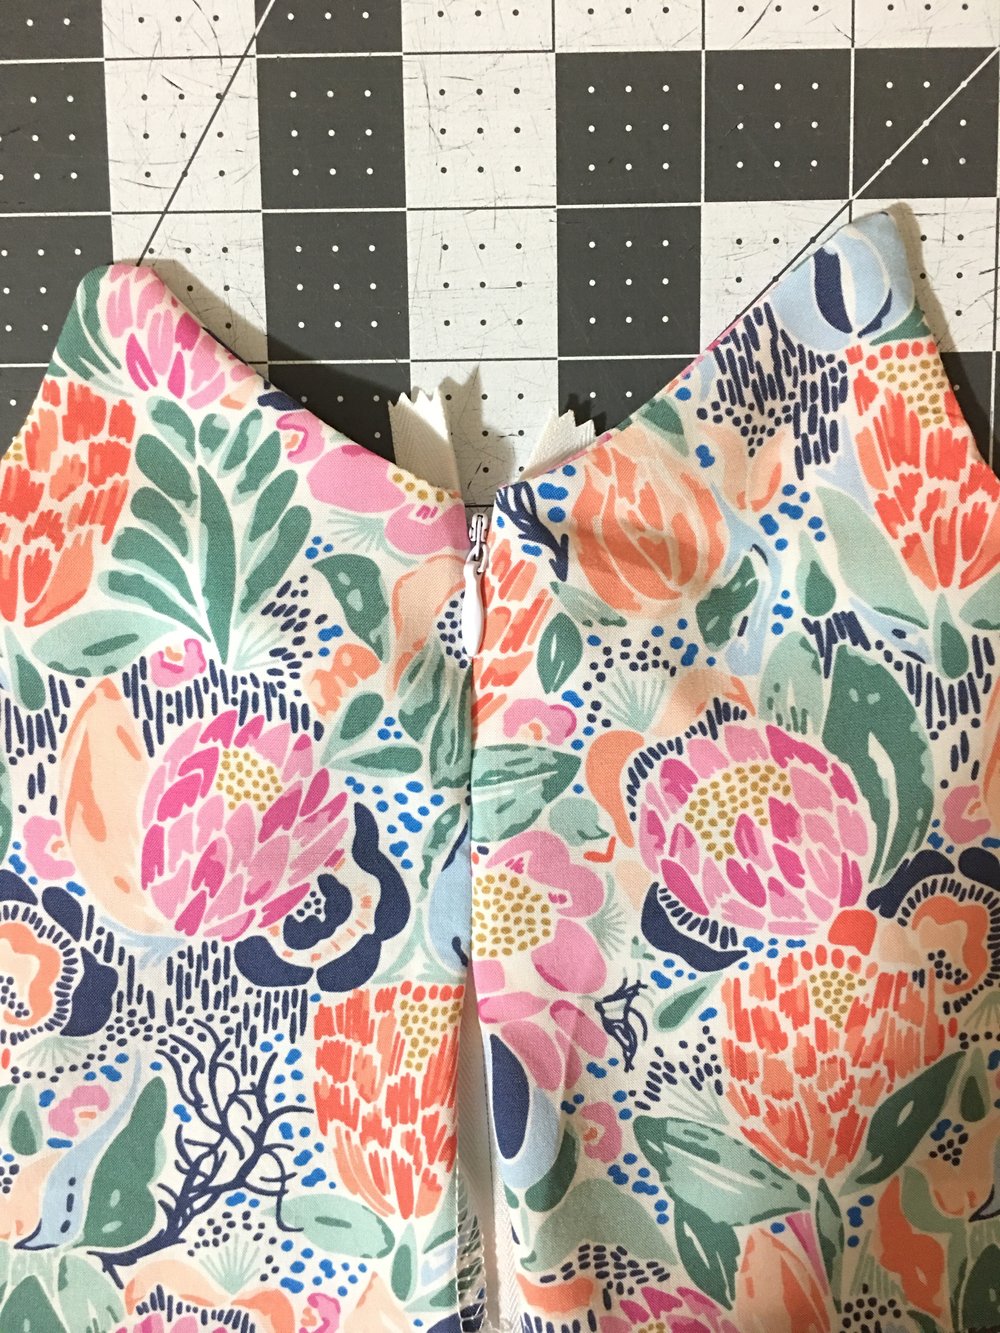
From the back you should have this.

Unzip the zipper (but don’t unzip it all the way that your zipper comes off – that would be sad). Fold the top of your zipper tape down and then bring the lining around and over so that it is right sides facing with the main. Using your zipper foot, stitch the lining to the zipper. You will be sewing through the lining, zipper, and main. Repeat with the other side.


Turn right side out and your zipper should be fully installed! Now we have to finish the bottom of the bodice.

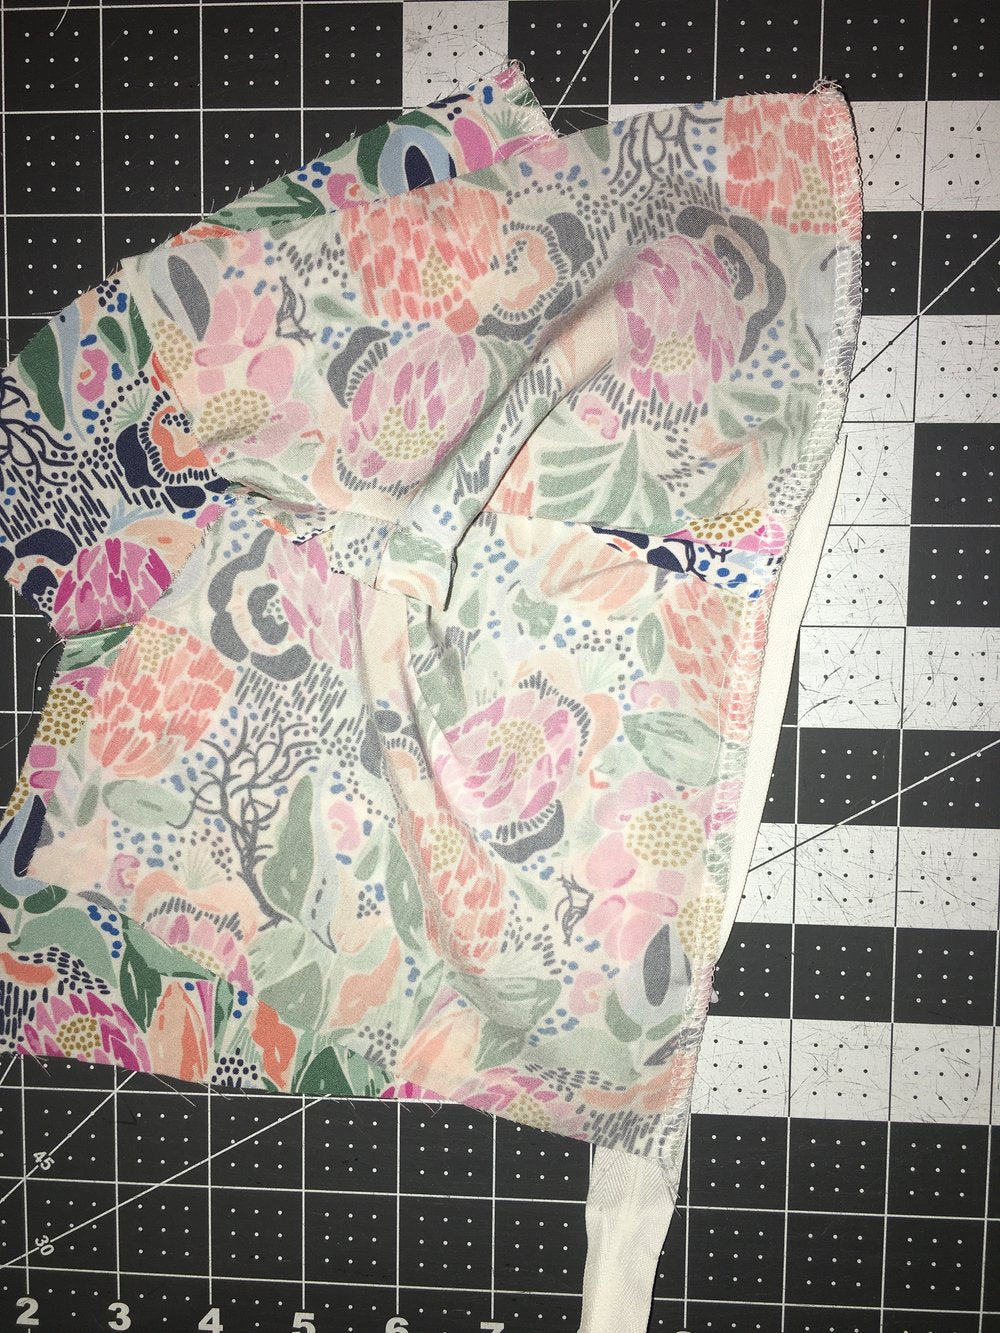
Pull the lining out of the way. Place the front bodice main pieces right sides together. Stitch with a 5/8” seam allowance from the bottom of the bodice to a point just beyond the zipper stitching. In the photo below, the red line should be where you stitched the zipper and the black line will be what you are sewing now. Be sure to backstitch to lock the stitches.

Once that last little piece is sewn, press your seam allowance open. The front bodice construction is complete. This is what it should look like from the inside.

You can now complete your dress following the pattern tutorial!


