Tutorial: How to Add Snaps to the Baby Napa

Blogger: Tammie Schaefer
How to add snaps to Baby Napa
I can’t tell you how excited I was when Baby Napa was released! I knew it was a pattern that I just HAD to have. I love it so much and quickly made one for my daughter.
But being the wiggly, on-the-go little lady she is, I decided to make a version with snaps for slightly easier diaper changes! Here are the simple steps I followed if you want to make your next one with a snap crotch opening!
Extra supplies you will need (in addition to those called for in the pattern):
-
Snaps
-
Interfacing (optional but highly recommended)
The Steps:
First, cut out all of the pattern pieces as called for in the pattern instructions.

Take one of the bottom romper pieces and measure the crotch curve. Try to avoid stretching the curve while measuring. For the size 12 month pictured here, the crotch curve measured about 20.5”.


Cut two pieces of fabric 1.75” x crotch curve measurement obtained in the step above + 1” for the snap plackets. I always add a little bit to the measurement just to be on the safe side. The excess will be cut off, so I’d rather be too long than too short!

At this point, if using interfacing, iron a piece of interfacing to the wrong side of each of the snap placket pieces you cut. Interfacing is highly recommended as many knit fabrics stretch easily and snaps can pull through. I like to use the sew-on Pellon light or medium weight. Once the interfacing is attached, fold the short sides together (wrong sides of the fabric touching) so that the raw edges match up.

Next, pin the folded snap placket piece to the right side of the crotch curve for each of the bottom pieces.
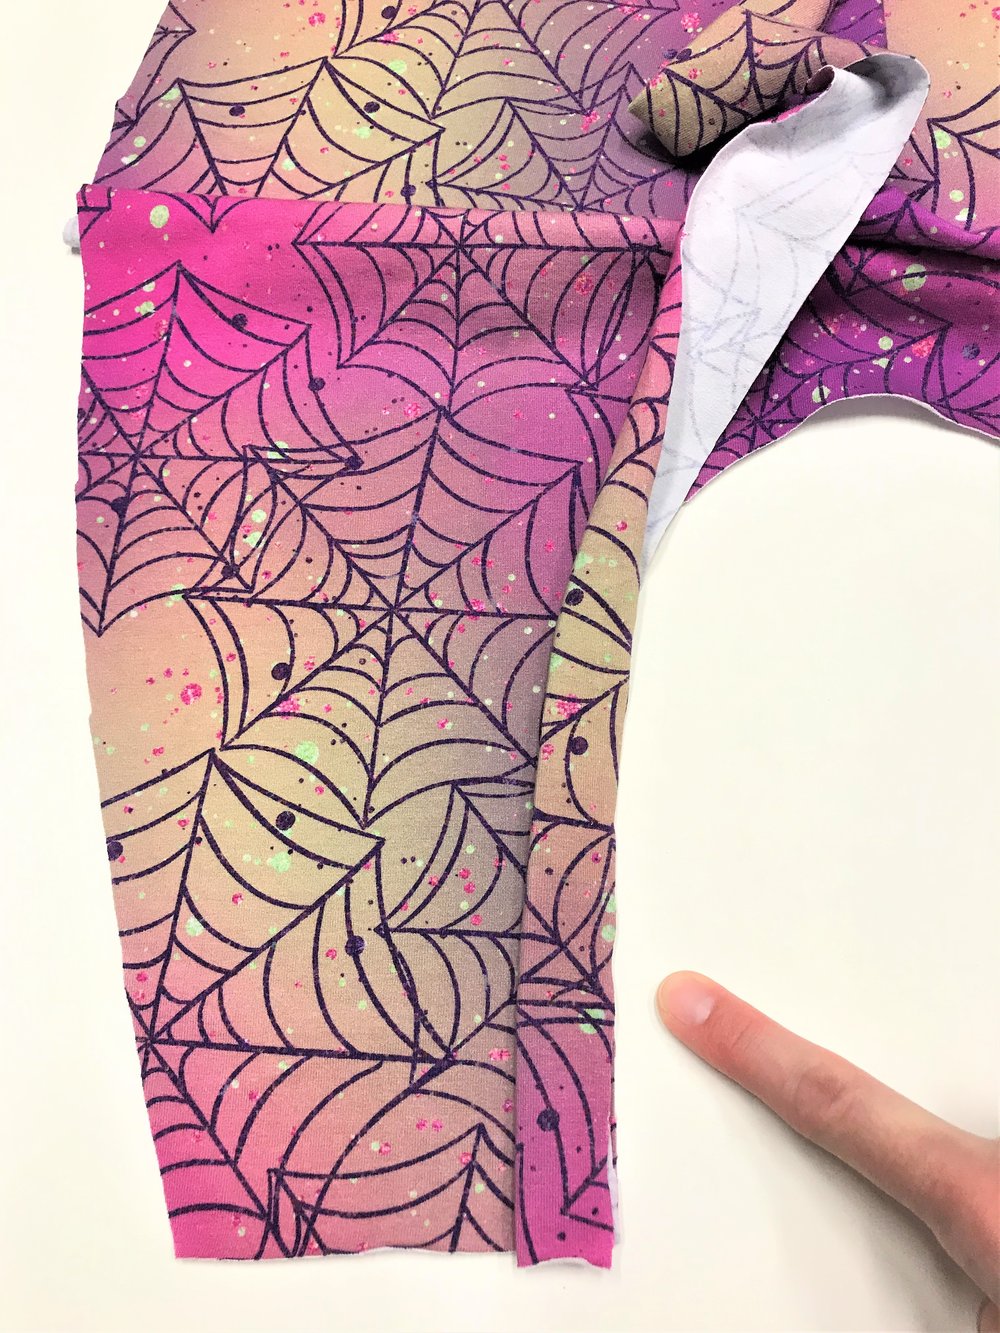

Sew along the curve to attach the snap panel and you will end up with this.
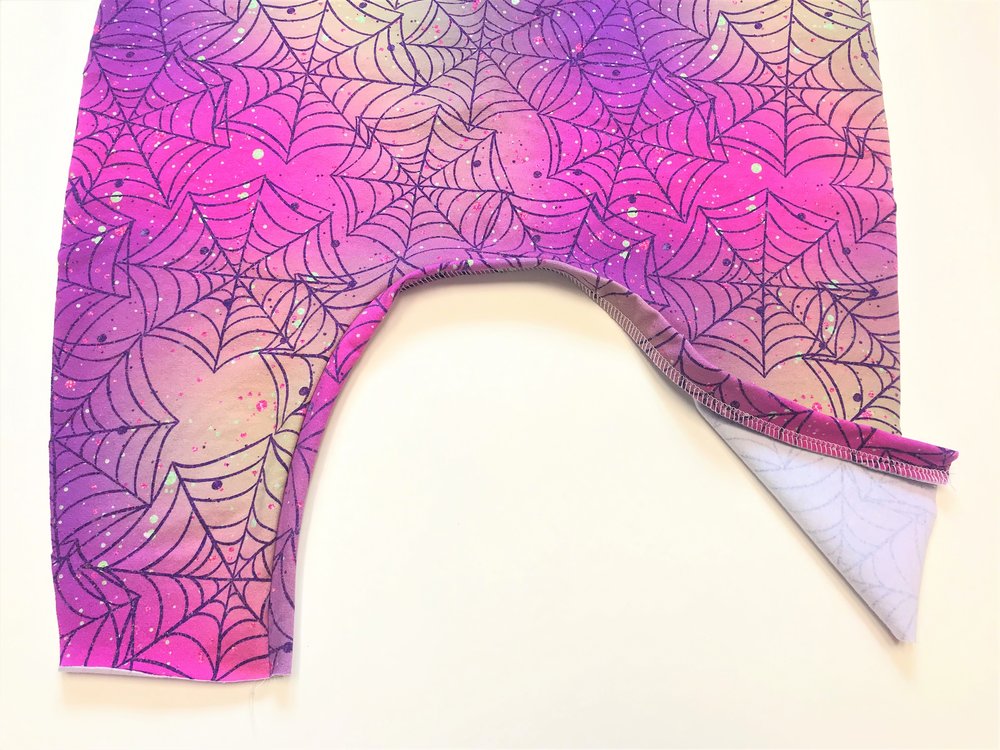
A this point, decide which piece will be the front and which piece will be the back. For the back bottom piece, topstitch the snap placket.

For the front bottom piece, flip the snap placket so it is touching the wrong side of the bottom piece and topstitch it 1/8” from the edge of the snap placket.

This is what the pieces will look like:
From this point, follow the instructions in the pattern to construct the bodice and attach the bodice to the bottom. Skip the step where the crotch curve is sewn together and return to this tutorial after the side seams are sewn together and you are ready to hem the legs (see below some tips for doing the cuffed version). Also, make sure to sew the front and back to the correct sides of the bodice! Although it will work if they are backwards, generally for snap plackets the back folds up on top of the front to make it easier to unsnap.
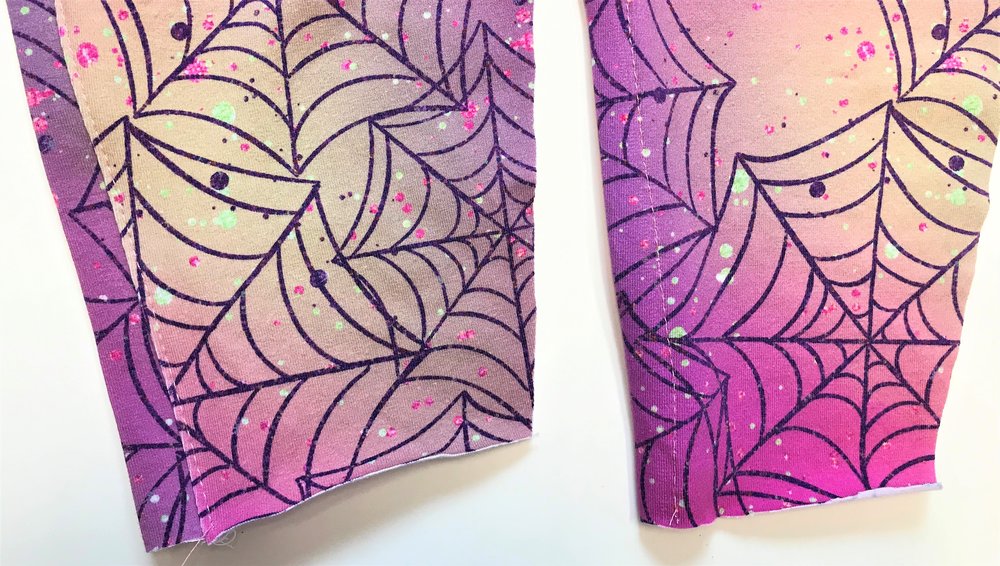
When the side seams are sewn together and you’re ready to hem, here is what your pieces should look like:


Fold up each leg piece and hem all the way across. As mentioned above, attach the snaps so the back folds up over the front. It will look like this:


*Note: If you’re doing a cuffed version, you want to overlap the back over the front similar to the picture above and sew the cuff to the leg instead of hemming.
Enjoy your lovely Napa


