Tutorial: Newport Suspender Shorts

Blogger: Heidi Geren
Newport Suspender Shorts
Happy Friday LLK friends! Aren´t you excited that it is finally warming up (or at least I hope it is where you are)?! If you are like me, you love to dress your daughter in vintage-y clothing. I adore the Newport Shorts as well as the Animazing skirt, so I decided to mash these patterns and create Newport Suspender Shorts with elastic legs! I paired my Newport suspender shorts with the Perfect Ten top. Continue reading to find out how to create this super cute look!!

First, add 3/4" to the bottom of your front and back shorts pieces. This is so you can create an elastic casing later on. If you are not going to do elastic legs, skip this step.

Next, prepare the animazing straps, but add 3” to the length. This is to account for the shorter waistband on the Newport shorts. Attach the straps to the front waistband and the loops to the back at the same distance as the Animazing pattern says.

Construct the waistband according to the Animazing pattern instructions. When it is time to make the elastic casing, masure down 1.5", draw a line, and sew to make the casing. Insert the elastic here.

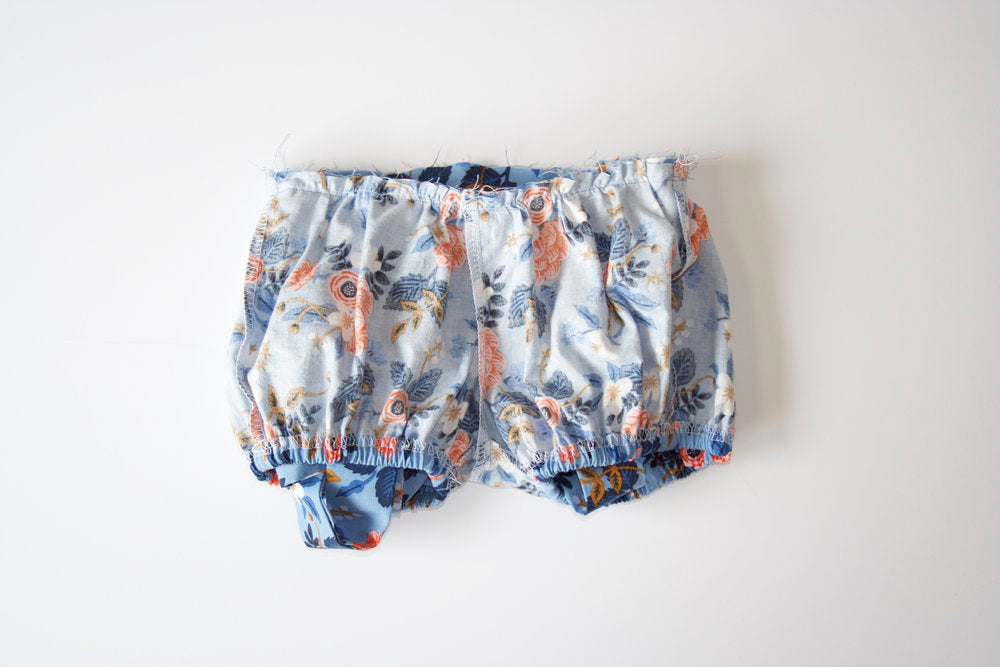
Follow the Newport pattern instructions to construct the shorts. When it’s time to make the
elastic casing, turn the fabric 1⁄4” wrong sides together, and then another 3⁄4”. Topstitch 1⁄8” from the edge to create the casing. Be sure to leave an opening to insert the elastic. Measure your child’s thigh and use this measurement for the elastic length.


Finally, attach your shorts to the waistband. The only difference from the Newport pattern is that your waistband seam will not be enclosed.
Congrats! You’ve made Newport suspender shorts! I can’t wait to see what you create!
