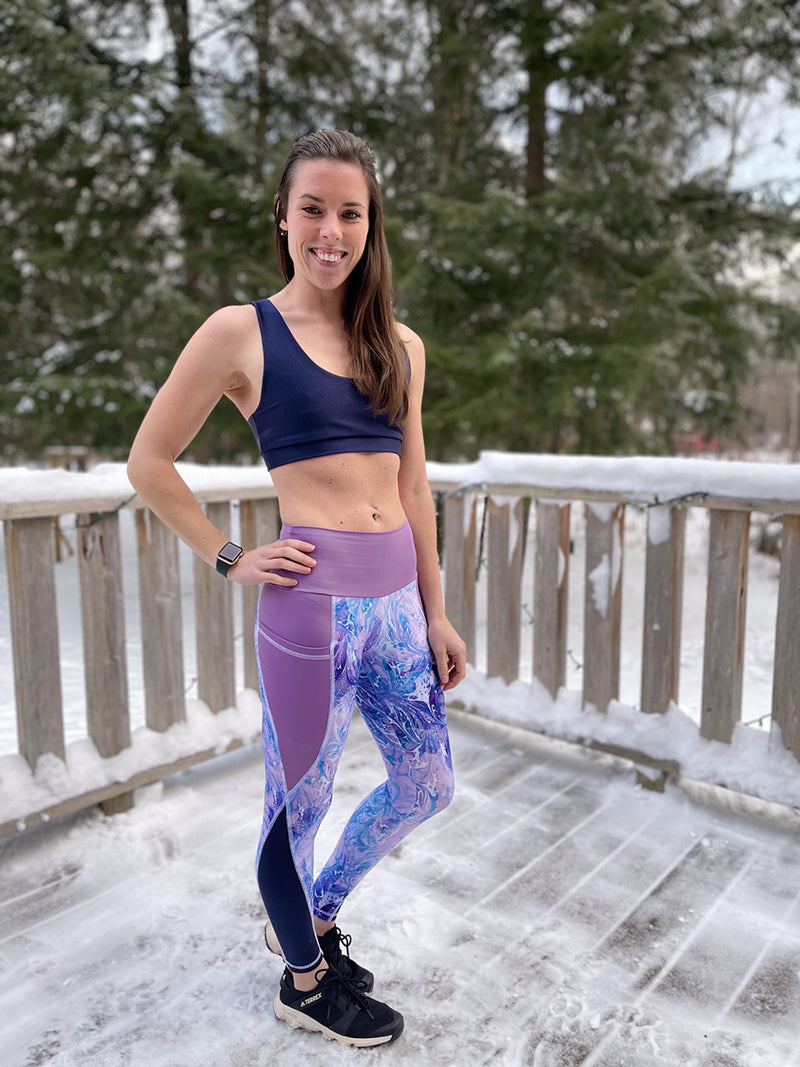
How to Hack the Boulder Leggings to Have an Ankle Cutout

Blogger: Kate Draeger
How to Hack the Boulder Leggings to Have an Ankle Cutout
To hack the Boulder leggings to have an ankle cutout, begin by cutting out the front and back leg paper pattern pieces. If using a projector, trace the pattern onto paper. Lay the two paper pieces butted up to each other along the outseam. Do not overlap the pieces. Tape the pieces together to make them easier to work with.

On the paper pattern pieces make a mark at the bottom hem approximately 3” (7.6 cm) from the back inseam and approximately 2” (5 cm) from the front inseam. Note: These distances are in reference to the adult pattern and are also a personal preference. Use these distances as an initial guide, as they can vary.

Draw curved lines (yellow) from the bottom of the pocket down to the ankle at the marks made. Make sure that the line from the front curved seam of the pocket (indicated by the arrow) is carried into a nice, smooth line down to the ankle.

Cut along the lines made to create the new colorblock piece. Make sure to transfer the grainline to the new piece and mark which side is the front and which side is the back.

Tape some paper behind the two leg pieces, at the newly cut seam, so a seam allowance can be added. Add a 3/8” (1 cm) seam allowance to the revised leg pieces (shown below with blue paper). Do not add seam allowance to the new, curved cut out.

Using these new pieces, cut out the fabric. Use the original pocket/colorblock piece from the pattern. The pocket/colorblock piece does not need to be altered. The below image shows all the pieces for one leg. Make sure to cut out mirror images for the opposite leg.

Locate the new colorblock piece and the corresponding back leg piece. Clip the colorblock piece to the back leg, right sides together. Sew to attach with a serger or stretch stitch using a 3/8” (1 cm) seam allowance. Press the seam towards the back leg piece. Do not topstitch at this time.

Locate the front leg piece and corresponding pocket. With right sides together, sew to attach with a serger or stretch stitch using a 3/8” (1 cm) seam allowance. Press the seam towards the front leg piece. Do not yet topstitch.

The front and back leg pieces should now look as follows.

Place the front and back leg pieces right sides together, aligning the outseam. Pin/clip into place. It is important that the pocket seam and new colorblock piece seam stay pressed and sewn in the same direction as stated in a previous step. Basting the seam at the base of the pocket and the top of the new colorblock piece is suggested. This will ensure a smooth transition of the curves.

Sew the outseam with a serger or stretch stitch using a 3/8” (1 cm) seam allowance.

The leg piece should now look as follows.

Prior to topstitching, the seam at the intersection must be clipped so the seam lays nicely. Clip the seam right at the intersection. DO NOT clip through the left needle thread.

Once the seam is clipped, press all seams away from the pocket and new colorblock piece. Topstitch one outseam from the top, all the way down to the ankle. Go slow to ensure a nice smooth curve at the intersection.

Topstitch the remaining seam from the top all the way down to the ankle.

Repeat for the opposite leg pieces. The leggings can now be finished using the Boulder tutorial.


