Candy Floss Amsterdam Dress
Candy Floss Amsterdam
Hi! I’m going to show you how to apply tulle to the Amsterdam Dress in a fun and easy way to create this look. It really is simple, and you can change the look dramatically by how much tulle you use and the size of the pieces.


Complete the bodice as per the tutorial and set aside. Follow the tutorial to complete the skirt. It is much easier to start with a hemmed skirt with gathering stitches in (use two rows of gathering stitches around the top of your skirt).
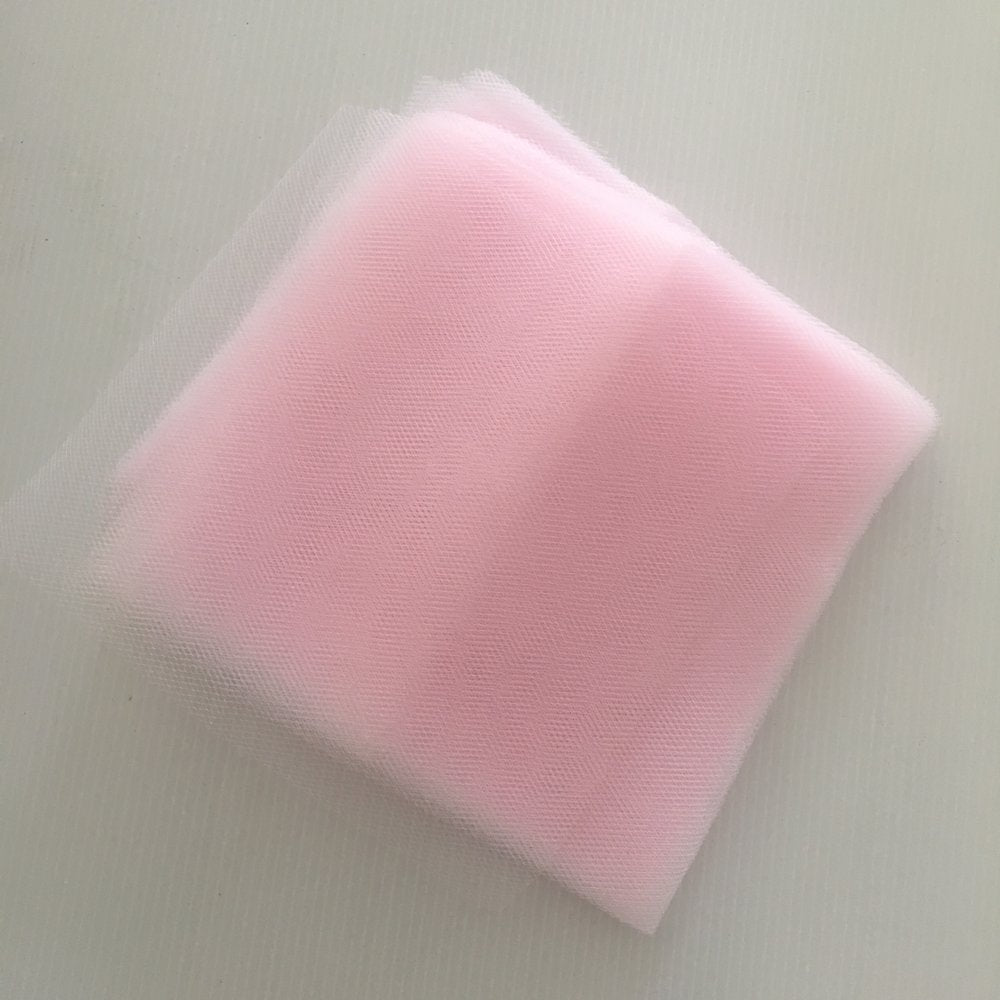
Cut your tulle into squares – for this dress I decided to keep it super simple and used 6” square pieces for the entire skirt. I used 2 x 100 yard rolls of 6” soft tulle.

The next step is to take your skirt and work out how many rows of tulle you want to do, and how far apart you want your tulle. I decided to do 8 rows of tulle 2” apart. Using a removeable pen or pencil, draw you guide lines onto the fabric.

Take one piece of tulle and pinch it in the middle as per the pic. It does not need to be super perfect, just create the pinch and then lay it on your bottom guideline. Sew to attach through the pinch about 1/2’’ from the top.

Continually add pieces of tulle every 2’’ around in a loop until you have attached the tulle all the way around the first guideline. Move up to the next guideline and repeat until you have completed all rows.


Gather the skirt and attach to your bodice as you would in the pattern.
You may now wish to add another row of the tulle around the top of the skirt and stitch in place by stitching in the ditch around the seam where the bodice meets the skirt, or fill in any areas you think need more tulle


You can really get super creative using this method and use varying size pieces of tulle and experiment with how far apart you do your rows etc!

Happy Sewing!