Tutorial: Adding Flutters to the Sheridan Pattern

Blogger: Chelsey Petrishen
Adding Flutters to the Sheridan Pattern
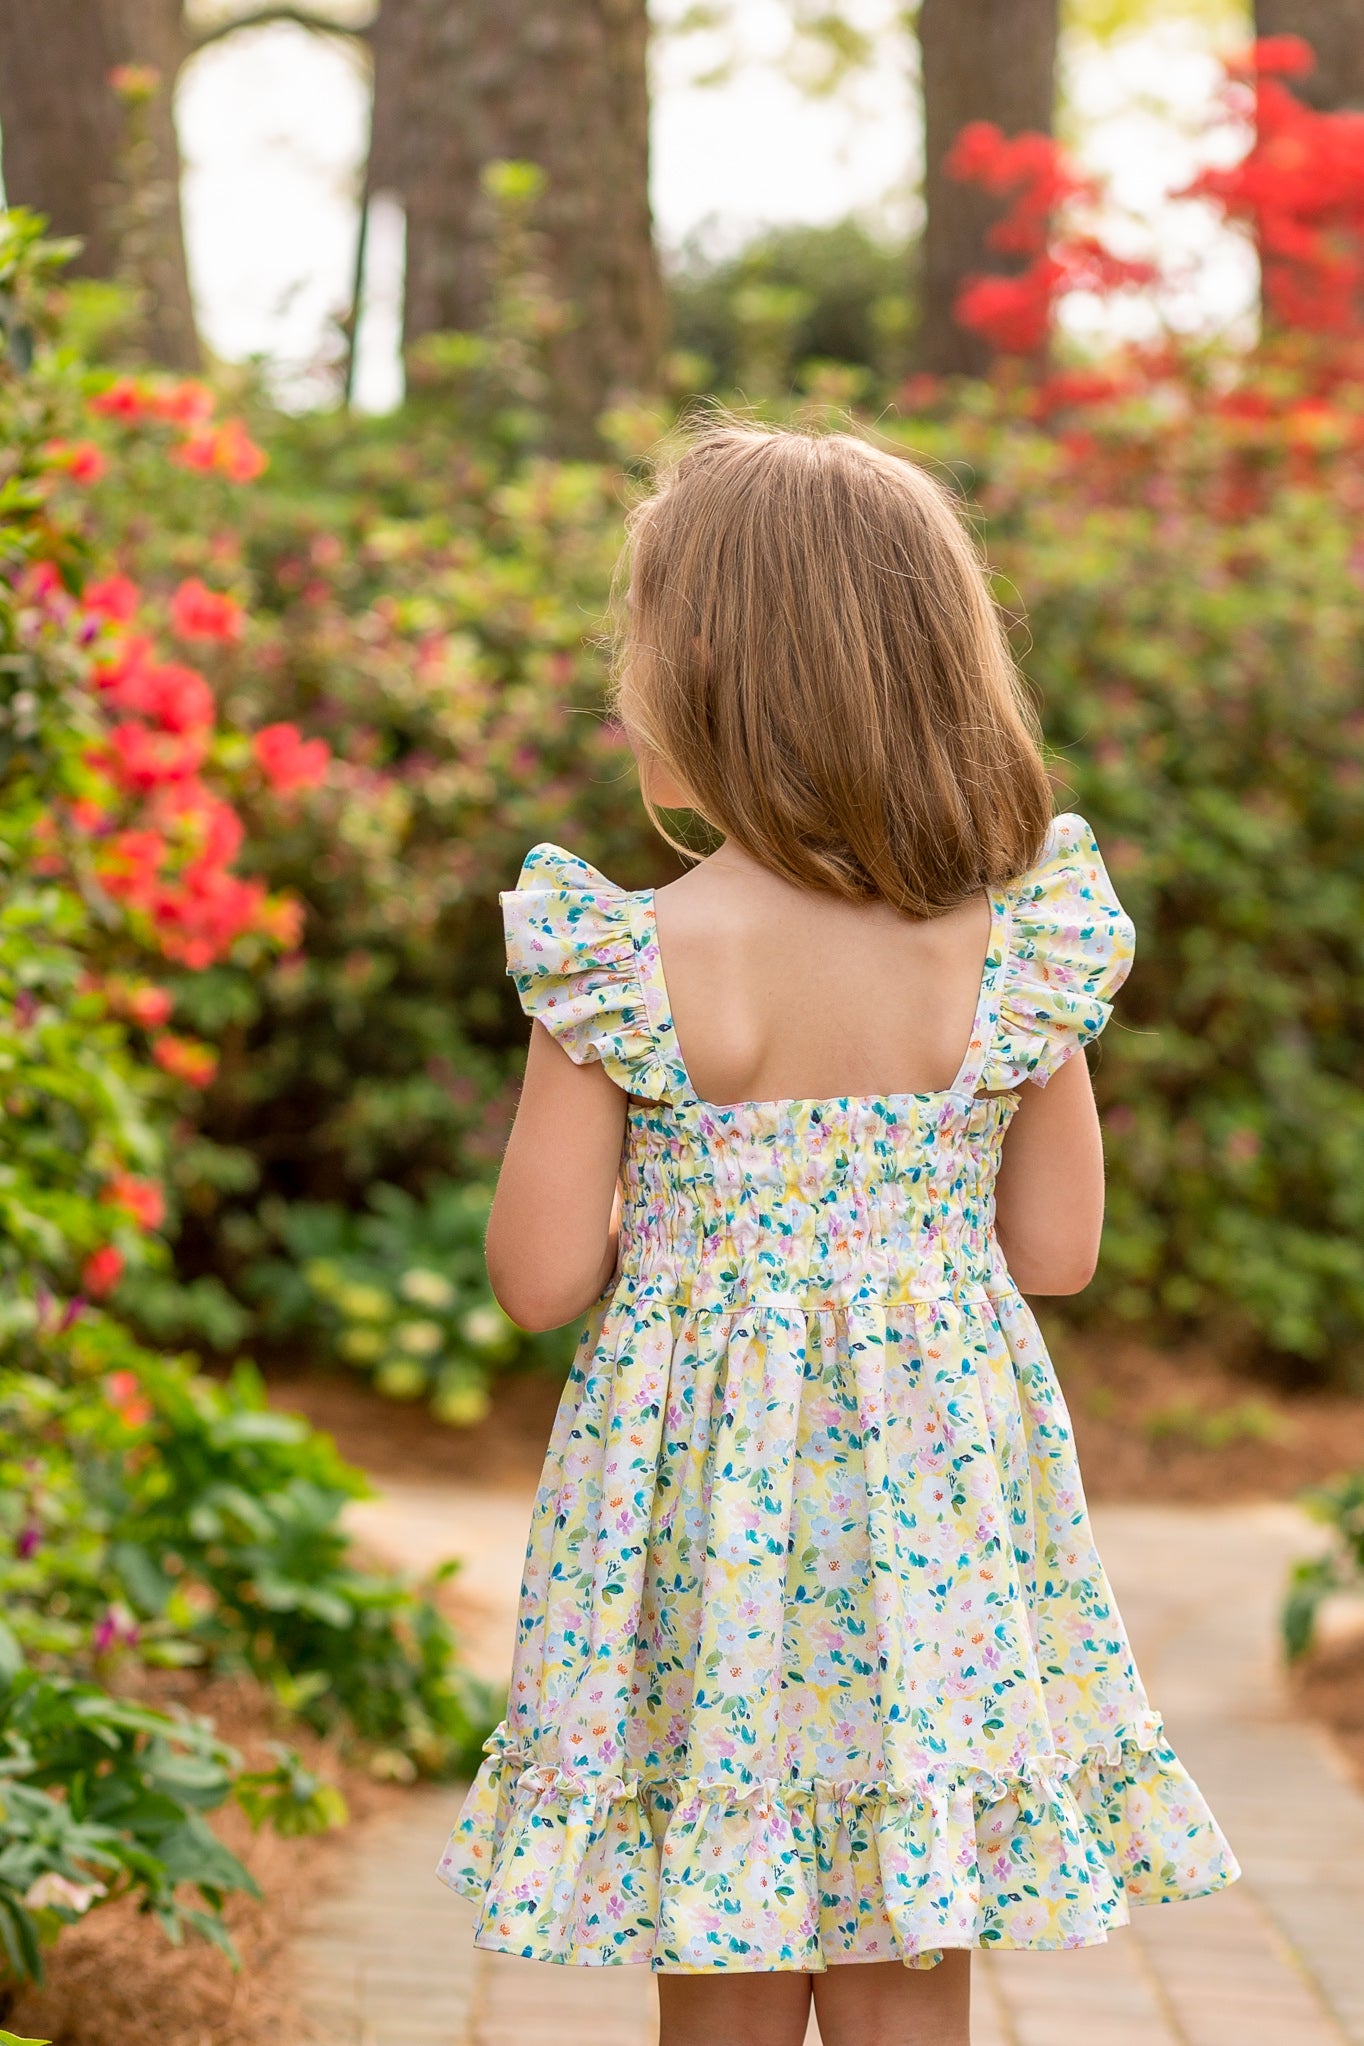
I was so excited when the Sheridan pattern was first released. Not only does it share a name with my hometown of Sheridan, Wyoming, but I just adore the inverted v-shaped front bodice and all the other options, especially the exposed ruffle hem. So what could possibly make this amazing pattern even more special? Adding flutter sleeves, of course.

Flutters are just so playful and feminine. I love adding them to dresses and tops every chance I get. I was thrilled to be able to add them to my Sheridan Dress and my daughter just loves them. Little Lizard King has provided a free flutter pattern so you can do this too!!! Better yet, you can try them on any pattern you like.
When searching for the perfect fabric, Fabrics, Laces and Trims was my fabric shop of choice. They offer a variety of ready to ship fabrics. I wanted a soft floral fabric that would compliment Sheridan's sweet style, so I chose Summer Wash, by Dear Stella.
With a few simple steps I will show you how to add flutter sleeves to your Sheridan dress.

First, prepare the straps. It is always best to measure your child to determine the correct size needed. Strap size is chosen by height. After cutting out the strap pieces, fold them in half lengthwise, with the wrong sides together. Press to create a memory crease. Unfold the crease. Fold the outside, long edges in to meet the center crease, wrong sides together and press. Repeat these steps for the remaining strap.

Hem each flutter piece along the straight edge by folding the raw, straight edge 1/4” wrong sides together and press. Fold it another 1/4” and press. Sew to secure the hem. Alternatively you can use a narrow, rolled hem - trim 1/2” off the width of the flutter to account for what would have been lost in the hem.

Sew a gathering stitch 1/4” from the long, curved, raw edge of the ruffle but don’t gather yet.
Next you will attach the flutter sleeve to the strap. Measure 1/2” in from each short end of the strap and place a mark using a removable marker or pen. The flutter sleeves will be placed between these two marks. Take care to mark the mirror image when placing the marks on the remaining strap. Align the flutter to the edge of the strap and gather to fit between these two marks, with the wrong side of the flutter to the right side of the strap. Pin in place. Baste in place using a 1/4” seam allowance. Repeat for the other strap. Be sure to create a mirror image set.

Refold the straps at the memory creases to enclose all of the raw edges. Check that the flutter becomes visible 1/2” up from the top and bottom of the strap, readjust if necessary and press. Sew the straps closed using a 1/8” seam allowance.

After you are finished constructing the flutter sleeves, continue attaching the straps with the Sheridan pattern instructions making sure you carefully keep the flutters out of the way when sewing so they do not get caught in the seam. It’s that simple.