The Enchanted Collection: Special Occasion Dress

Blogger: Molly Cauble
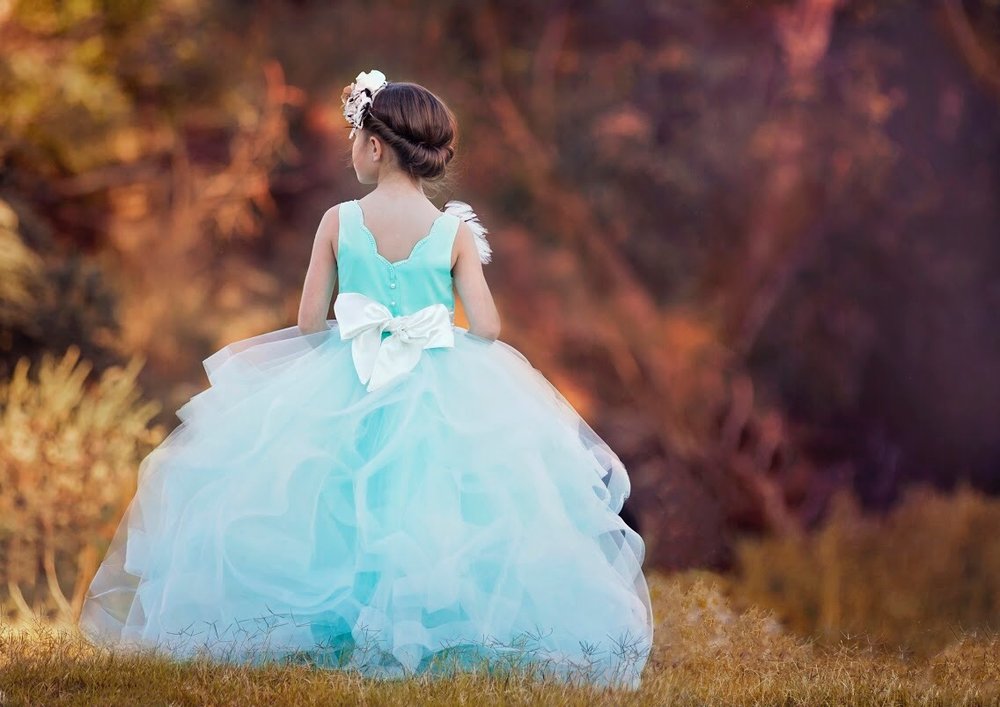
Special Occasion Dress
I have always wanted to make an over the top dress for my daughter. I knew what I wanted for the skirt, but I have been putting it off for months because I just couldn’t decide how I wanted the bodice to look. When I saw the Misthaven I knew immediately that I had finally found the one! I know this looks difficult, but trust me, it’s not as bad as you think.
Supplies needed:
Tulle – lots of tulle! I had to go back for more, but I think I ended up using around 50 yards of the tulle on the bolt from Hobby Lobby for a size 6.
Horsehair Braid - You can use any width you prefer, but I recommend 2”. I ordered mine here for dirt cheap. This is a 100 yard lot and I used the full 100 yards.
Little Lizard King Misthaven and Arendelle Patterns.
Tutorial:
To get the cascading effect on the top layer, you will need to cut circles of different sizes. To determine how many circles to cut, measure your child’s waist. You will need 1 circle for every inch. Example: Tara’s waist is 21.25” so I rounded up and cut 22 circles. You can use the simple circle from the Arendelle pattern for these. DO NOT CUT the middle/waist portion of the circle. You want a full circle without the hole in the middle. I recommend cutting 3-4 different sizes. Start with the size you would make according to her measurements and then move up two sizes for each circle. You will end up with 5-10 of each size circle.
After you get all your circles cut, you need to sew the horsehair braid around the edges of all of them. I sewed at 3/8”. Make sure you do not stretch the horsehair braid or the tulle as you sew. When you get to the end, overlap 1/2” and sew to secure. There is no need to finish the edges because neither the tulle nor the horsehair braid will ravel.

Measure from your child’s waist to the floor. Pinch each circle together in the center and arrange it so that your circle is that measurement. I needed 31.5” so I laid my ruler at that point and gathered my circles on my cutting mat to make sure they were all the same length. The bigger the circle, the less cascading effect you will have. The first picture is a smaller circle so it has more cascade than the bigger circle in the second picture.


When you bring the center of the circle together at the top, make sure each one measures 1” wide. Alternating the different size circles, line them up next to each other and baste them together.


Open up your bodice and attach the string of circles to the right side of the bodice. Remember, pins are your friend. Don’t be afraid to you tons of them!

To finish the dress, continue with the steps starting on page 39 in the Misthaven tutorial entitled Constructing the Tulle Skirt. Because the skirt is so heavy when finished, I recommend adding a snap and/or hook to help give it a little more support.


It will be a little awkward when you attach it all together, but take your time, go slow and you will be so proud of yourself with you are finished! This method creates a pretty full skirt, but if you want it even bigger, just add to the number of circles and baste them closer together.
I can’t wait to see your creations!
